Audio Recorder
Checklist
Section titled “Checklist”Audio recorder setup checklist
This is a condensed checklist if you already know what everything does. For more info on each, read on below
Audio recorder
Recording
Placement
Section titled “Placement”Next to the Mixer
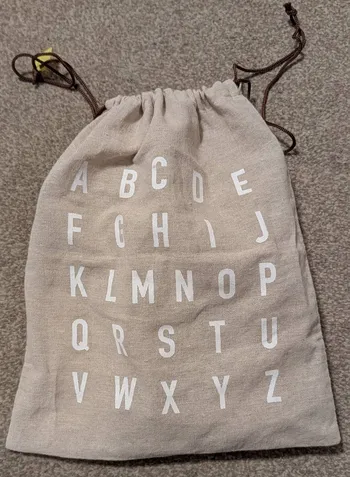
You can find the Audio recorder in this bag:
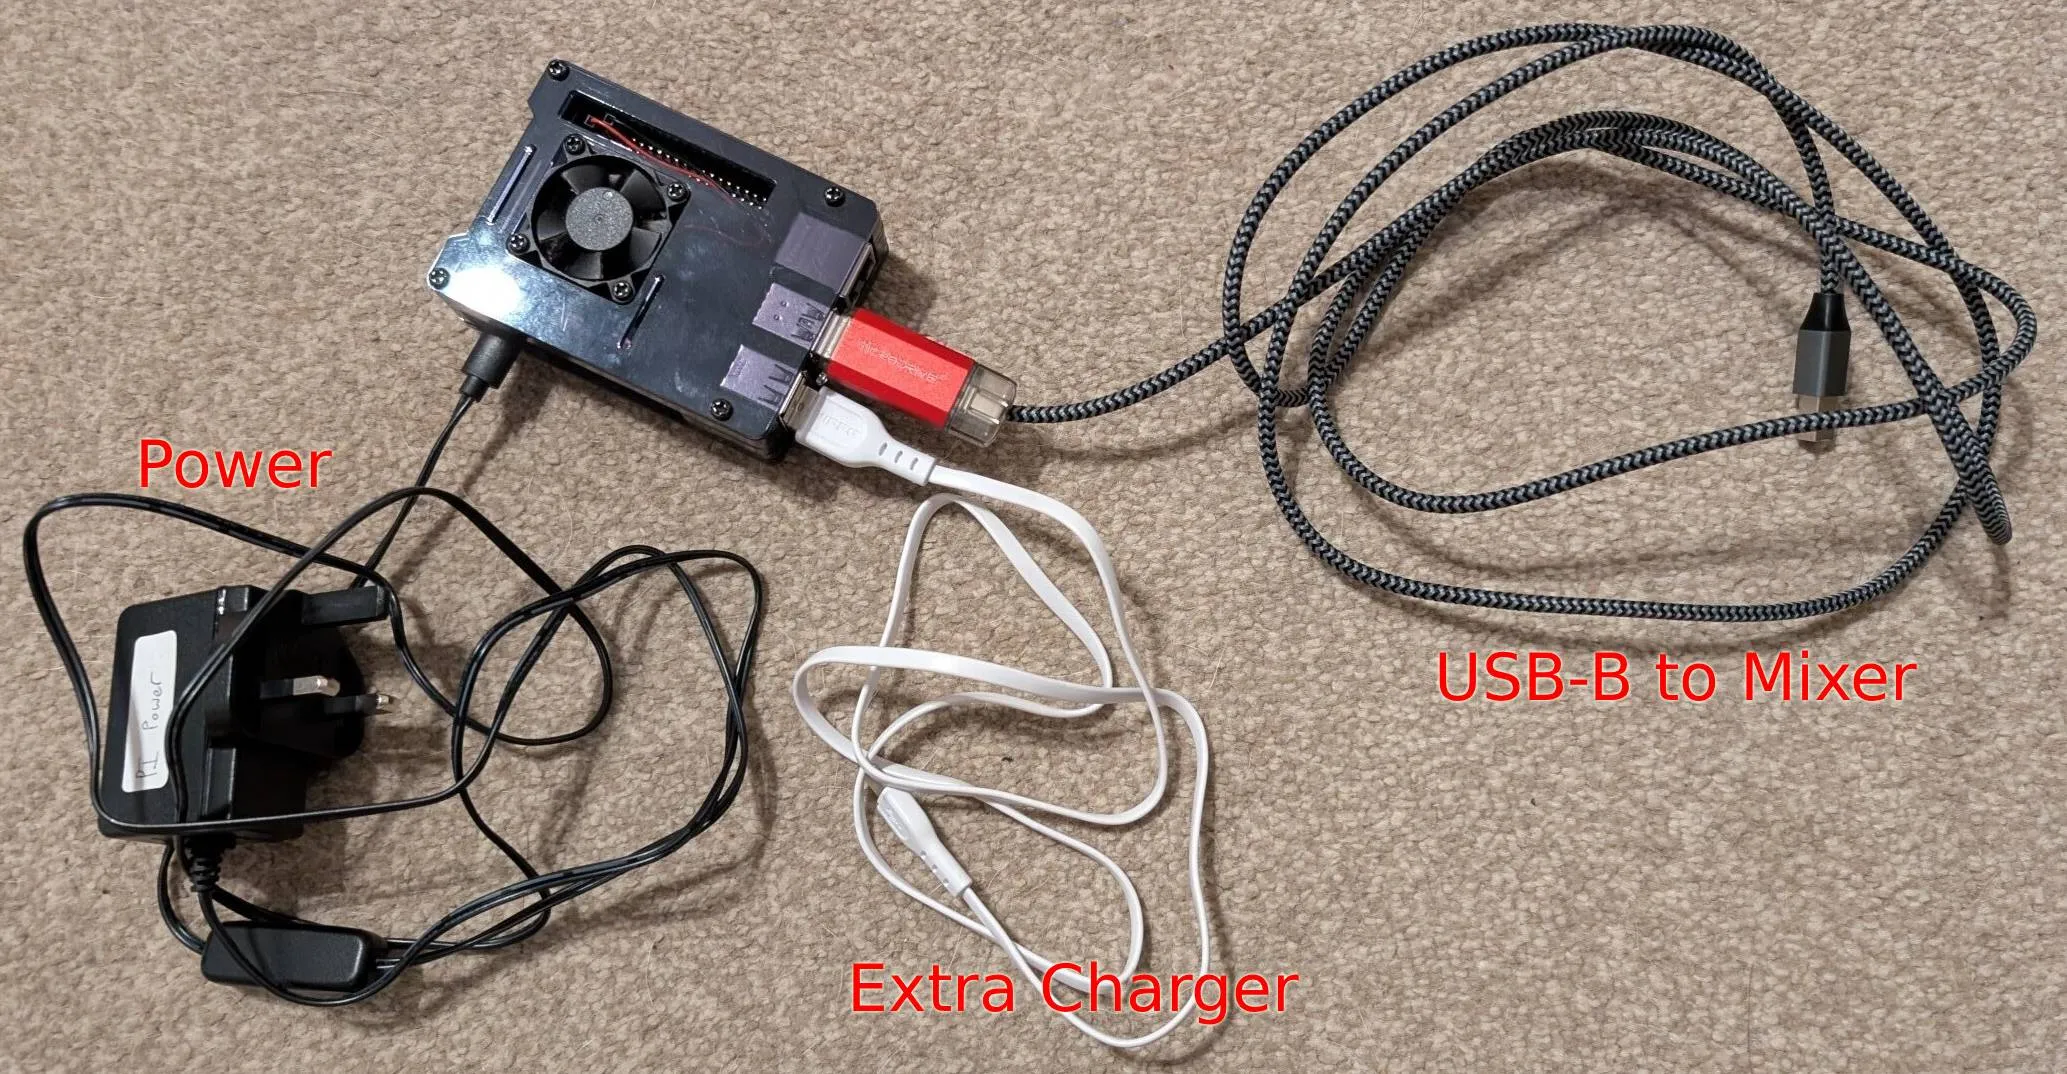
We use this to record a good quality recording (multi-track recording). This currently is in addition to the recording through the Laptop, since there’s some kinks to resolve before this can replace the laptop recording.
Setting this up is pretty simple, we simply need to plug:
- Power to power socket
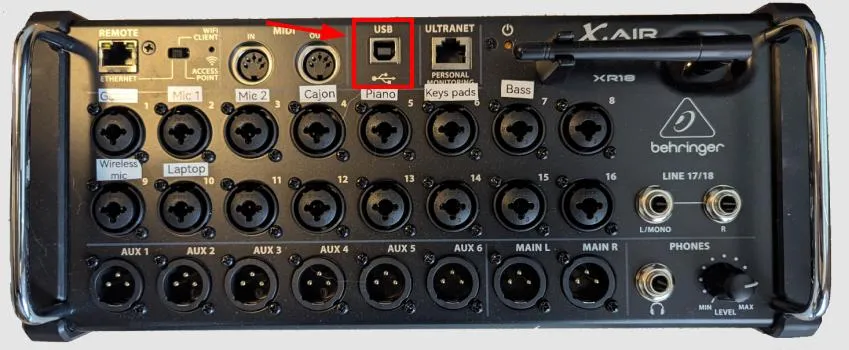
- USB-B cable to Mixer
Charging
Section titled “Charging”Start recording
Section titled “Start recording”To start recording, we simply need to turn the device on. You can do this by pressing the small button located in the middle of the power cable.
Limitations: This currently only works for the first one hour. For this device, the most important part to record is the Worship session. So as long as we start it 1h before worship finish, that will work.
To power it off, simply press the button again.
Packing up
Section titled “Packing up”You can leave everything connected to the device as you found it. It fits nicely into the bag so we don’t need to do extra work.
Step-by-Step
Section titled “Step-by-Step”-
Connect USB-B cable into the Mixer USB slot
- This is the stripe cable
-
Connect Power to Power socket
- Normally the white power extension
-
Power it on to start recording - 10am should be good
- The button is in the middle of the power cable